BAG
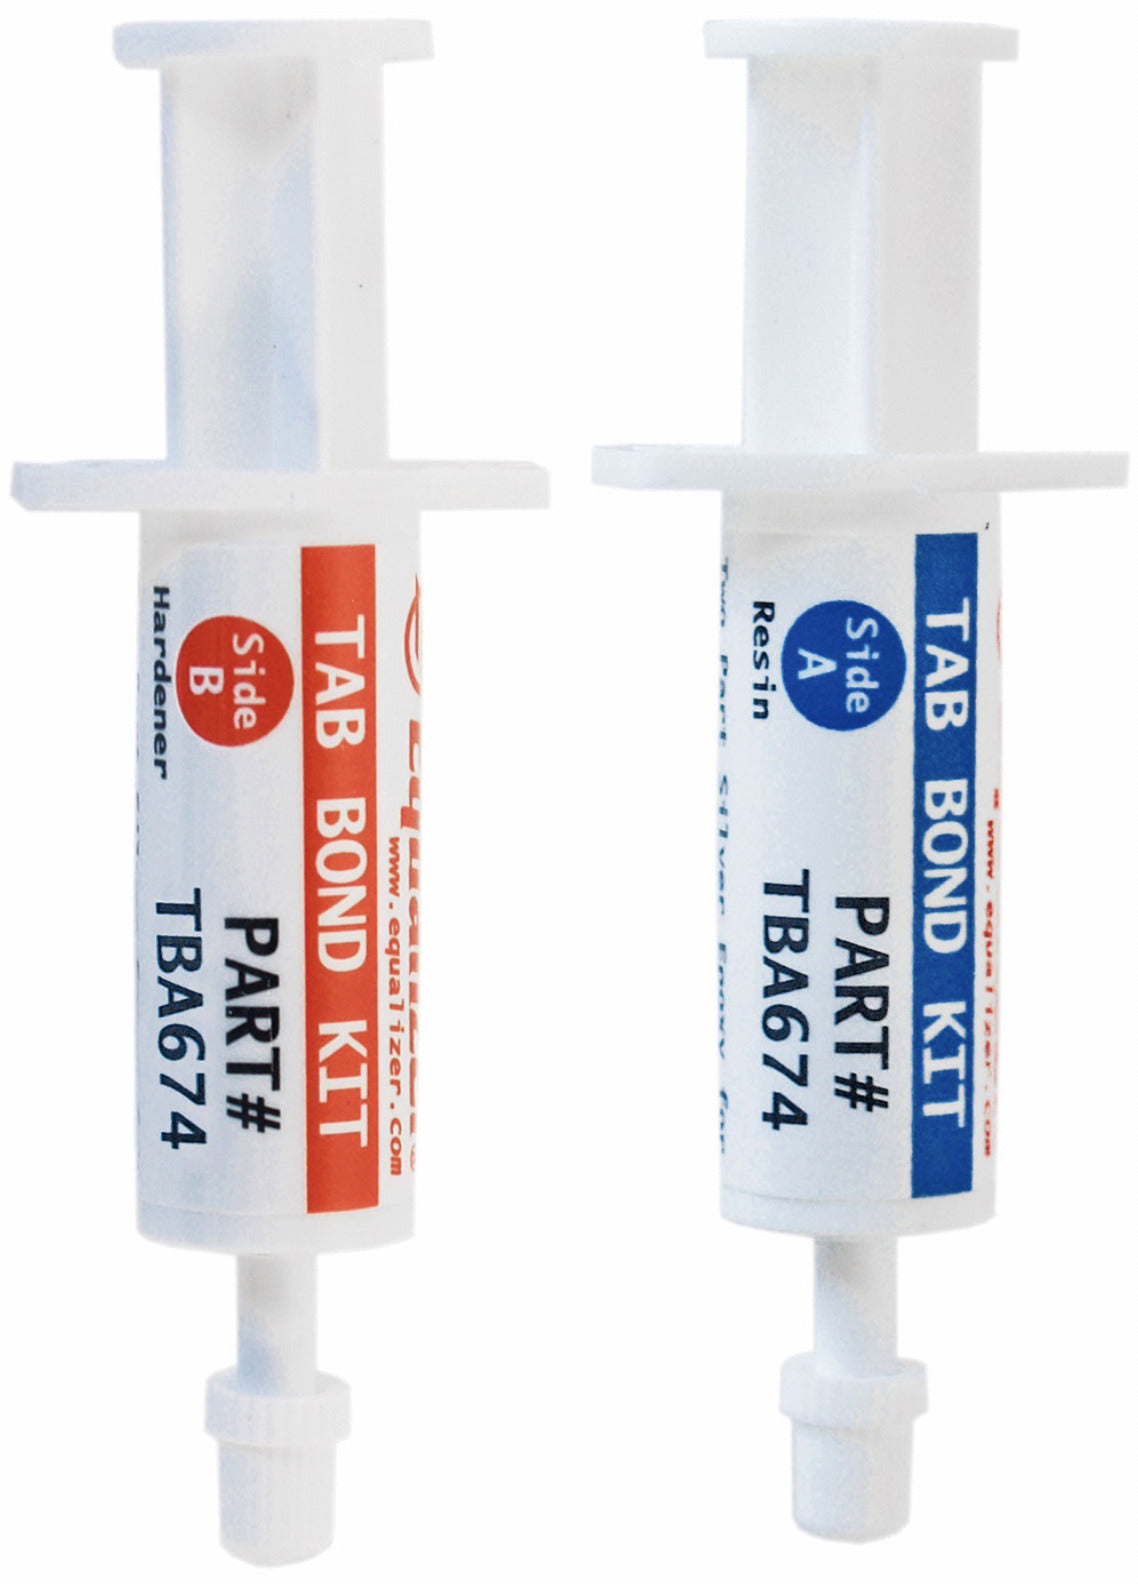
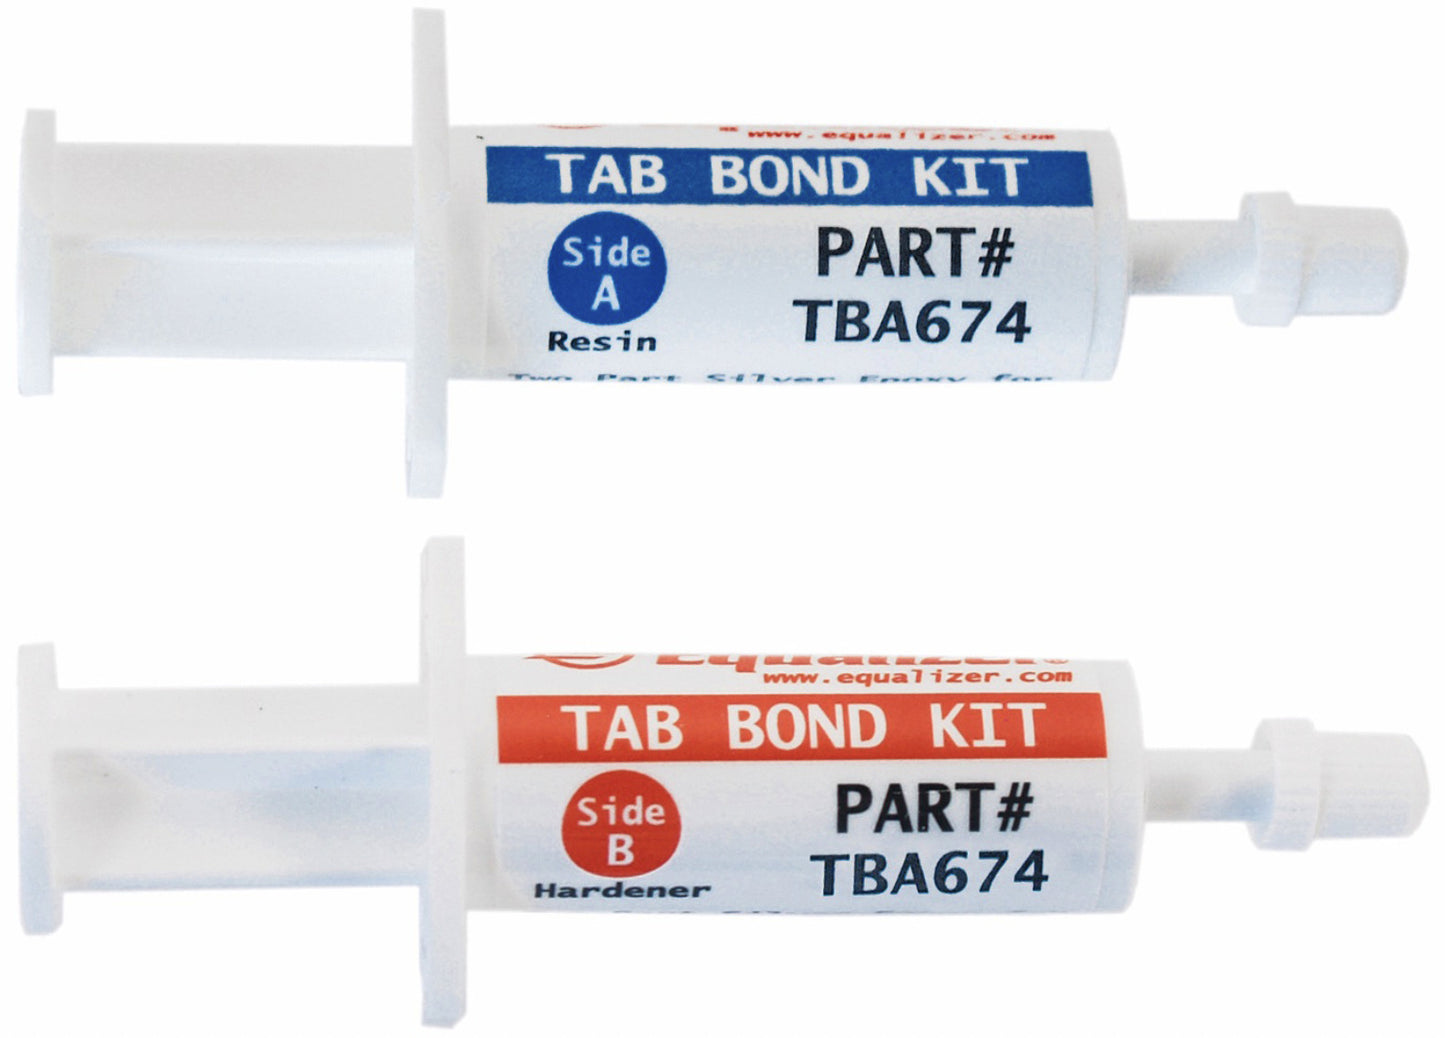
TAB Repair Kit for Rear Window Defroster Repair TBA674
TAB Repair Kit for Rear Window Defroster Repair TBA674
Couldn't load pickup availability
Rear Window Defroster Tab Bonding Kit - TAB2000
Silver makes the difference bonding rear window defroster tabs
Reattach separated tabs on rear window defrosters and defoggers. Defroster tabs are located along the sides of the defroster and frequently become separated from the defroster. A separated tab means complete defroster failure.
Fortunately, this is an easy defroster repair you can do yourself and save the high cost of glass replacement. Frost Fighter Defroster Tab Bonding adhesive is over 80% silver. This high silver content is needed for highly conductive tab bonding required in defroster repair. The highly conductive two-part adhesive cures quickly, bonds aggressively and makes the electrical and structural connection to the defroster in one simple operation. We engineered this system specifically for tab bonding. This system to be easy to use, bond aggressively to glass and defroster coatings and make the highly conductive bonds needed for high amperage defroster tab repairs.
NEWS FLASH! - General Motors bulletin recommends TAB2000 Tab Bonding Kit
New General Motors (GM) Bulletin 16-NA-171: Repair Information of Reconnection of Rear Window Defroster Contact or Tab. This bulletin recommends the TAB674 Tab Bonding Kit for the reconnection of defroster terminals to the rear defroster.
Defroster Tab Repairs
The most likely cause of a total defroster grid failure is a separated main power clip/tab. Located on each side of defroster on the vertical sidebars, these critical tabs connect the defroster grid with the vehicle’s high amperage defroster circuit. These all-important tabs can be knocked off of the defroster causing total defroster failure. Look for dangling wires near the sides of the defroster as a sure indication of this problem. Once this problem has been identified the challenge becomes reliably reattaching the tabs without damaging the back glass or the defroster.
|
How to Reattach Tabs Next sand the base of the tab to bare metal using the sandpaper included in the kit. Now inspect the area on the defroster where the tab will be bonded back. This area should be clean and relatively smooth. It may be necessary to sand this area lightly. Restoring Damaged Defrosters, Tab Repair with lots of missing defroster If the defroster around the tab was damaged when the tab came off it is easy to rebuild the damaged area on the defroster while at the same time re-attaching the separated defroster tab. Start by masking off an area around the damaged bonding site with masking tape making sure some of the undamaged defroster is inside the masking area. Remember you are making an electrical connection to the undamaged defroster while restoring the defroster in the area where the defroster was removed. It is a good idea to use two layers of tape. Now mix the TAB 2000 Tab bonding material and apply it to the inside of the masked off area. Use one of the kits mixing pads to squeegee the material smooth. Pull off the masking tape. Now you will have a nice wet pad on conductive epoxy that overlaps onto the undamaged defroster surface. Next, dip the end of the tab into the adhesive and position it on the bonding material on the defroster. Remember this adhesive starts to cure quickly (five minutes). Once the tab is in place the allow 10 to 15 minutes for the adhesive to start to cure and then use heat for the final cure. The highly conductive silver filled epoxy cures quickly and bonds aggressively forming both the electrical and structural connection. Hot tip for faster, more conductive cure The Frost Fighter tab bonding kit is safe for all defroster tab configurations. |
Share


